|
 |
"Bald Eagle" <cre### [at] netscape net> wrote:
> Functions.
>
> Render your scene, then paste the filename into the provided spot.
>
> Render this scene.
> I think it _ought_ to do what you want.
> [code]
>
That's a valiant effort, and a clever use of functions! Especially with the use
of max(...)
[Btw, I couldn't get my own version of your
#declare Filename = ... file path ...
to work in Windows, despite multiple tries and guesses; obviously some kind of
arcane syntax problem at my end that I haven't yet solved]
As far as I can tell, the intention of your code is to take a *pre-rendered*
image and find the brightest pixels => 1.0 (or more specifically, which color
component goes over that limit.) The three functions...
#declare f_red = function {max(Pattern2 (x, y, z).red, 1)-1}
etc.
.......look like they expect to see values *over* 1.0, and to give the result as
the additional amount.
Unfortunately, what I see is a totally black render when I plug in a typical LDR
image. That's to be expected, though-- unless I'm wrong about your intention--
since an already-rendered LDR image has all of its pixels at or below 1.0, as
the image file (and monitor) can only reproduce colors in the 0-1 range.
(Maybe you had HDR images in mind instead?)
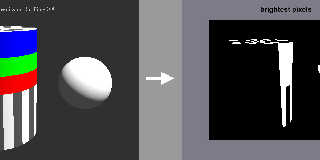
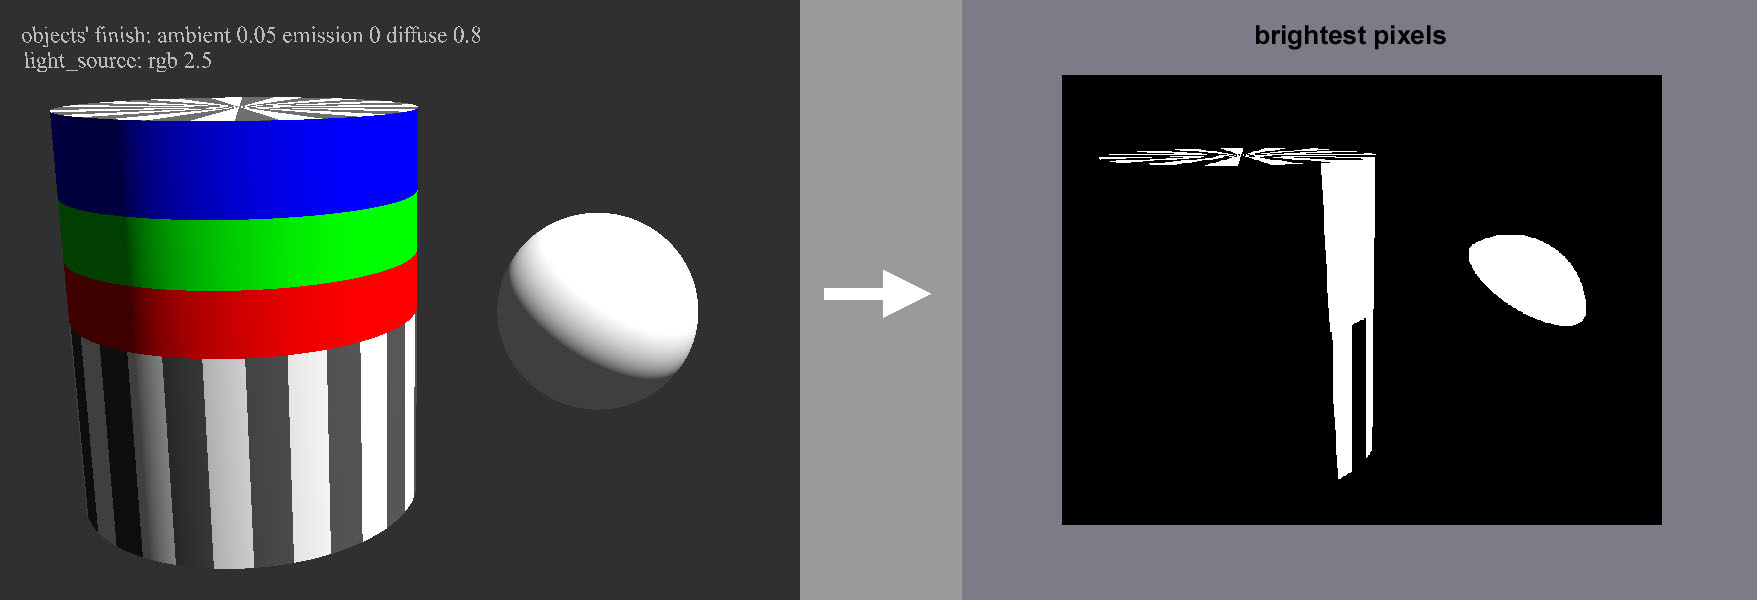
I re-worked a few things in the code to get your intended(?) result (re: using a
pre-rendered LDR image), and it works quite nicely: Pixels *approaching* 1.0 are
picked out. Cool!
But trying to determine which pixels are too bright *while* rendering involves
POV-ray's inner workings; as William alluded to, the scene's pixel values
(*prior* to being written to a file or to the preview screen) can easily exceed
1.0... hence the 'failed AA' effect, for example. I guess that they are clipped
to that maximum only when the file is written, or when the preview can't
reproduce them as-is.
In any case, here's my minor re-working of your code for LDR images...which
looks to be useful in and of itself. No light_source needed. Thanks for the
brain-boost ;-)
------------
#version 3.8;
global_settings {assumed_gamma 1.0}
background{rgb <.2,.2,.25>}
camera {
perspective
location <0, 0, -1>
look_at <0, 0, 0>
right x*image_width/image_height // aspect
}
#declare Pattern2 = function {pigment {image_map {png "my_image.png"}}}
#declare f_red = function {max(Pattern2 (x, y, z).red, .9999) - 1}
#declare f_grn = function {max(Pattern2 (x, y, z).green, .9999) -1}
#declare f_blu = function {max(Pattern2 (x, y, z).blue, .9999)-1}
#declare OverOne = function {max(f_red (x,y,z), f_grn (x,y,z), f_blu (x,y,z))}
#declare Pigment2 =
pigment {
function {OverOne (x, y, z)}
color_map {
// I reversed the color order here, to get a 'positive' image,
// so the brightest pixels show up white instead of black
[ 0 rgb 1 ]
[ 1 rgb 0 ]
}
}
#declare Resolution = max_extent (ImageMap);
#declare Resolution = Resolution + <0, 0, 1>;
box {0, 1
texture{
pigment {Pigment2}
finish{ambient 1 emission 0 diffuse 0}
}
translate <-0.5, -0.5, -0.5>
scale Resolution*(1/Resolution.x)
} net> wrote:
> Functions.
>
> Render your scene, then paste the filename into the provided spot.
>
> Render this scene.
> I think it _ought_ to do what you want.
> [code]
>
That's a valiant effort, and a clever use of functions! Especially with the use
of max(...)
[Btw, I couldn't get my own version of your
#declare Filename = ... file path ...
to work in Windows, despite multiple tries and guesses; obviously some kind of
arcane syntax problem at my end that I haven't yet solved]
As far as I can tell, the intention of your code is to take a *pre-rendered*
image and find the brightest pixels => 1.0 (or more specifically, which color
component goes over that limit.) The three functions...
#declare f_red = function {max(Pattern2 (x, y, z).red, 1)-1}
etc.
.......look like they expect to see values *over* 1.0, and to give the result as
the additional amount.
Unfortunately, what I see is a totally black render when I plug in a typical LDR
image. That's to be expected, though-- unless I'm wrong about your intention--
since an already-rendered LDR image has all of its pixels at or below 1.0, as
the image file (and monitor) can only reproduce colors in the 0-1 range.
(Maybe you had HDR images in mind instead?)
I re-worked a few things in the code to get your intended(?) result (re: using a
pre-rendered LDR image), and it works quite nicely: Pixels *approaching* 1.0 are
picked out. Cool!
But trying to determine which pixels are too bright *while* rendering involves
POV-ray's inner workings; as William alluded to, the scene's pixel values
(*prior* to being written to a file or to the preview screen) can easily exceed
1.0... hence the 'failed AA' effect, for example. I guess that they are clipped
to that maximum only when the file is written, or when the preview can't
reproduce them as-is.
In any case, here's my minor re-working of your code for LDR images...which
looks to be useful in and of itself. No light_source needed. Thanks for the
brain-boost ;-)
------------
#version 3.8;
global_settings {assumed_gamma 1.0}
background{rgb <.2,.2,.25>}
camera {
perspective
location <0, 0, -1>
look_at <0, 0, 0>
right x*image_width/image_height // aspect
}
#declare Pattern2 = function {pigment {image_map {png "my_image.png"}}}
#declare f_red = function {max(Pattern2 (x, y, z).red, .9999) - 1}
#declare f_grn = function {max(Pattern2 (x, y, z).green, .9999) -1}
#declare f_blu = function {max(Pattern2 (x, y, z).blue, .9999)-1}
#declare OverOne = function {max(f_red (x,y,z), f_grn (x,y,z), f_blu (x,y,z))}
#declare Pigment2 =
pigment {
function {OverOne (x, y, z)}
color_map {
// I reversed the color order here, to get a 'positive' image,
// so the brightest pixels show up white instead of black
[ 0 rgb 1 ]
[ 1 rgb 0 ]
}
}
#declare Resolution = max_extent (ImageMap);
#declare Resolution = Resolution + <0, 0, 1>;
box {0, 1
texture{
pigment {Pigment2}
finish{ambient 1 emission 0 diffuse 0}
}
translate <-0.5, -0.5, -0.5>
scale Resolution*(1/Resolution.x)
}
Post a reply to this message
Attachments:
Download 'brightest_pixels_test_1.jpg' (77 KB)
Preview of image 'brightest_pixels_test_1.jpg'
|
|

