I have done quite a bit of research and learned a number of things about
creating UV maps, and so I thought I would share. The first important thing
I learned is how to deffine cut areas on a model in the wings autoUV
function. I just never tried right clicking while in edge mode before. By
deffining where autoUV will cut you can create understandable uv maps.
Before I could not find areas of my models in the map because they
over-lapped or were shaped differently.
Next I searched the internet for information on how to paint a UV map. I
found the answer in a tutorial on creating skins for games: use the dodge
and burn tool. The tutorial was on adobe photoshop, but the Gimp works just
as well if not better. The dodge and burn tools lighten or darken the area
of your image under the cursor. Dodge lightens, and burn makes darker. By
using them on a layer painted a nuetral grey (rgb .5) you can create soft
gradients of light and dark more easily then with any other tool I have
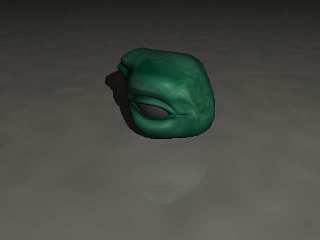
tried. Then you can just overlay a semi-transparent layer over for coloring
or tweak the contrast for use as a bump_map.
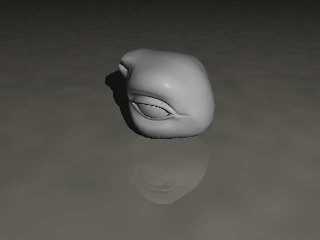
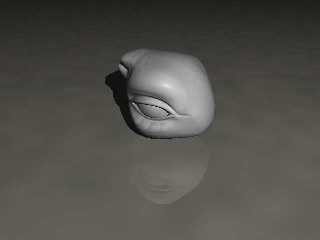
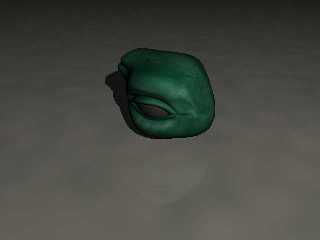
These pictures are the result of mainly of these two pieces of information.
Also right now I am interested in the idea of painting fine detail onto a
model. With comercial 3d applications the technique is called displacment
mapping, and it actualy changes the geometery of the model, but in Povray
the best I could do was create a normal map.
The technique for finish mapping I used here dosn't show very well as the
model only really has two finishes, but I thought it was so cool that I
would try it. For more information search the news group for a post on
finish mapping in p.b.i.
The next step is to test out these methods in an animation, but I will need
to create a different model for that. Anyways I hope that helps somebody, I
know it would have saved me some time.
Post a reply to this message
Attachments:
Download 'watcher_plain.jpg' (6 KB)
Download 'watcher_bump.jpg' (6 KB)
Download 'watcher_pigment.jpg' (6 KB)
Download 'watcher_all.jpg' (6 KB)
Preview of image 'watcher_plain.jpg'

Preview of image 'watcher_bump.jpg'

Preview of image 'watcher_pigment.jpg'

Preview of image 'watcher_all.jpg'

|


![]()