 |
 |
|
 |
|
 |
|  |
|  |
|
 |
|
 |
|  |
|  |
|
 |
Hey All,
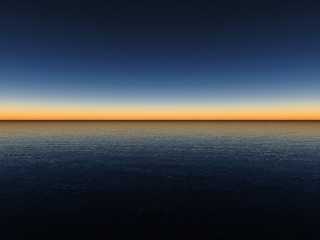
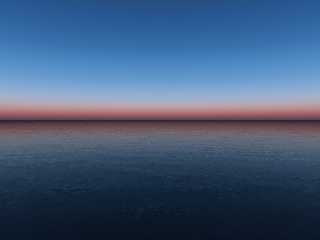
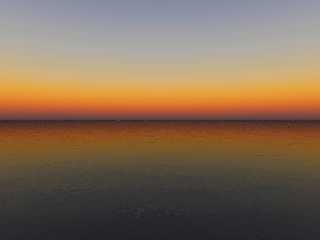
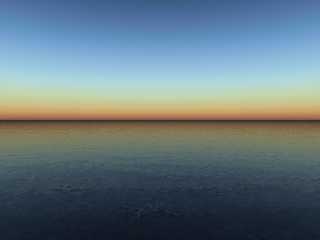
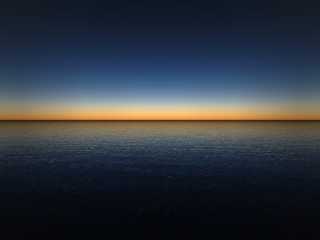
I've been spending a fair amount of time thinking about how to generate
realistic looking sky spheres. Most of my efforts have been focused on
translating real-world pictures into appropriate looking sky spheres in a
time-efficient way. Here are my latest results.
Mike
--
http://povray.tashcorp.net
Post a reply to this message
Attachments:
Download '1.jpg' (26 KB)
Download '2.jpg' (25 KB)
Download '3.jpg' (23 KB)
Download '4.jpg' (27 KB)
Preview of image '1.jpg'
Preview of image '2.jpg'
Preview of image '3.jpg'
Preview of image '4.jpg'
|
 |
|  |
|  |
|
 |
|
 |
|  |
|  |
|
 |
You've got the colors down... now you just need another gradient running
in the opposite axis to wash them out. I always fake the sun with a
spherical texture too:
http://www.drugrecognition.com/skip/3d/highres/st400-2.jpg
Skip
Post a reply to this message
|
 |
|  |
|  |
|
 |
|
 |
|  |
|  |
|
 |
"Skip Talbot" <Ski### [at] aol com> schreef in bericht
news:43e1515f@news.povray.org...
> You've got the colors down... now you just need another gradient running
> in the opposite axis to wash them out. I always fake the sun with a
> spherical texture too:
>
Hey! That other gradient is a good idea! Never thought of that!
> http://www.drugrecognition.com/skip/3d/highres/st400-2.jpg
>
Beautiful image.
Thomas com> schreef in bericht
news:43e1515f@news.povray.org...
> You've got the colors down... now you just need another gradient running
> in the opposite axis to wash them out. I always fake the sun with a
> spherical texture too:
>
Hey! That other gradient is a good idea! Never thought of that!
> http://www.drugrecognition.com/skip/3d/highres/st400-2.jpg
>
Beautiful image.
Thomas
Post a reply to this message
|
 |
|  |
|  |
|
 |
|
 |
|  |
|  |
|
 |
Mike Kost wrote:
> http://povray.tashcorp.net
Your sky sphere tutorial is really helpful.
I'll try it out on the weekend. Good work.
Sebastian
Post a reply to this message
|
 |
|  |
|  |
|
 |
|
 |
|  |
|  |
|
 |
Skip Talbot wrote:
> You've got the colors down... now you just need another gradient running
> in the opposite axis to wash them out. I always fake the sun with a
> spherical texture too:
>
> http://www.drugrecognition.com/skip/3d/highres/st400-2.jpg
>
> Skip
Skip,
Great idea to get the dimming effect. I took a quick swing at it and I like
the results...
Here's my sky_sphere:
sky_sphere {
pigment {
function { max(min(y,1),0) }
color_map { cm_realsky_01 }
}
scale (1/2)
pigment {
function { abs(max(min(x,1),-1)) }
color_map {
[ 0.0 rgbt <0.1, 0.1, 0.1, 1.0> ]
[ 0.2 rgbt <0.1, 0.1, 0.1, 1.0> ]
[ 0.6 rgbt <0.1, 0.1, 0.1, 0.9> ]
[ 1.0 rgbt <0.1, 0.1, 0.1, 0.6> ]
}
}
}
Mike
--
http://povray.tashcorp.net
Post a reply to this message
Attachments:
Download 'final2.jpg' (25 KB)
Preview of image 'final2.jpg'
|
 |
|  |
|  |
|
 |
|
 |
|  |
|  |
|
 |
Sebastian H. wrote:
> Mike Kost wrote:
>> http://povray.tashcorp.net
>
> Your sky sphere tutorial is really helpful.
> I'll try it out on the weekend. Good work.
>
> Sebastian
Thanks - I'm glad it's helpful.
I've started using a series of Python scripts to automate the whole process,
so what I'm doing now has advanced beyond my tutorial. Something new to
write-up when it settles down, I guess.
Mike
Post a reply to this message
|
 |
|  |
|  |
|
 |
|
 |
|  |
|  |
|
 |
Looks great, Mike. What are you using for the water?
Skip
Post a reply to this message
|
 |
|  |
|  |
|
 |
|
 |
|  |
|  |
|
 |
Skip Talbot wrote:
> Looks great, Mike. What are you using for the water?
>
> Skip
It's a bump mapped plane based on a functions from Chrisoph Horrman's
Realistic Water with POV-Ray tutorial
(http://www.imagico.de/pov/water/index.html). The water sdl is below (a
full scene file can be found off of here
http://povray.tashcorp.net/tutorials/qd_realskysphere/)
plane {
y, 0.0
material {
texture {
pigment { color rgbt <0.8, 0.9, 1, 0.9> }
finish {
ambient 0.0
diffuse 0.0
reflection {
0.2, 1.0
fresnel on
}
specular 0.4
roughness 0.003
}
normal {
function {
f_ridged_mf(x/9, y, z/5, 0.1, 3.0, 7, 0.7, 0.7, 2)
} 0.6
turbulence 2.5
scale 0.13
}
}
interior { ior 1.3 }
}
}
All the best,
Mike
--
http://povray.tashcorp.net
Post a reply to this message
|
 |
|  |
|  |
|
 |
|
 |
|  |
|  |
|
 |
Nice tutorial!
;-)
Paolo
> "Mike Kost" wrote:
> It's a bump mapped plane based on a functions from Chrisoph Horrman's
> Realistic Water with POV-Ray tutorial
> (http://www.imagico.de/pov/water/index.html). The water sdl is below (a
> full scene file can be found off of here
> http://povray.tashcorp.net/tutorials/qd_realskysphere/)
>
Post a reply to this message
|
 |
|  |
|  |
|
 |
|
 |
|  |
|  |
|
 |
Mike Kost <con### [at] povray tashcorp tashcorp net> wrote:
> Sebastian H. wrote:
>
> > Mike Kost wrote:
> >> http://povray.tashcorp.net
> >
> > Your sky sphere tutorial is really helpful.
> > I'll try it out on the weekend. Good work.
> >
> > Sebastian
>
> Thanks - I'm glad it's helpful.
>
> I've started using a series of Python scripts to automate the whole process,
> so what I'm doing now has advanced beyond my tutorial. Something new to
> write-up when it settles down, I guess.
>
> Mike
How about letting POV do the work? I was able to do a reasonable facsimile
of the sampling process in POV sdl.
#declare Pigment_img=pigment{image_map{png "skygrad.png" interpolate 0}}
#declare Ximg_dim=48;
#declare Yimg_dim=270;
#declare Cmap_dim=30; //number of color map entries
#declare Xsamp=5; //averageing horizontally across the image
#declare Sample_bias=2; //bias the number of samples towards the bottom (>1)
or top (<1) of the image
#macro GetColor(SampleP, GradientFunc)
#local SamplePX=SampleP.x;
#local SamplePY=SampleP.y;
GradientFunc(SamplePX, SamplePY, 0)
#end
#declare SkyColorMap=
color_map{
#declare i=0;
#while (i<Cmap_dim)
[pow(i/(Cmap_dim), Sample_bias)
#declare j=0;
#declare Color_vector=(
#while (j<Xsamp) //loop to average over several horizontal samples
#declare XSamplePoint=(.5+int(Ximg_dim*j/Xsamp))/Ximg_dim;
#declare YSamplePoint=pow((.5+int(Yimg_dim*i/Cmap_dim))/Yimg_dim,
Sample_bias);
+GetColor(<XSamplePoint, YSamplePoint>,
function{pigment{Pigment_img}})
#declare j=j+1;
#end
)/Xsamp;
color rgb Color_vector
]
#declare i=i+1;
#end
}
Abe net> wrote:
> Sebastian H. wrote:
>
> > Mike Kost wrote:
> >> http://povray.tashcorp.net
> >
> > Your sky sphere tutorial is really helpful.
> > I'll try it out on the weekend. Good work.
> >
> > Sebastian
>
> Thanks - I'm glad it's helpful.
>
> I've started using a series of Python scripts to automate the whole process,
> so what I'm doing now has advanced beyond my tutorial. Something new to
> write-up when it settles down, I guess.
>
> Mike
How about letting POV do the work? I was able to do a reasonable facsimile
of the sampling process in POV sdl.
#declare Pigment_img=pigment{image_map{png "skygrad.png" interpolate 0}}
#declare Ximg_dim=48;
#declare Yimg_dim=270;
#declare Cmap_dim=30; //number of color map entries
#declare Xsamp=5; //averageing horizontally across the image
#declare Sample_bias=2; //bias the number of samples towards the bottom (>1)
or top (<1) of the image
#macro GetColor(SampleP, GradientFunc)
#local SamplePX=SampleP.x;
#local SamplePY=SampleP.y;
GradientFunc(SamplePX, SamplePY, 0)
#end
#declare SkyColorMap=
color_map{
#declare i=0;
#while (i<Cmap_dim)
[pow(i/(Cmap_dim), Sample_bias)
#declare j=0;
#declare Color_vector=(
#while (j<Xsamp) //loop to average over several horizontal samples
#declare XSamplePoint=(.5+int(Ximg_dim*j/Xsamp))/Ximg_dim;
#declare YSamplePoint=pow((.5+int(Yimg_dim*i/Cmap_dim))/Yimg_dim,
Sample_bias);
+GetColor(<XSamplePoint, YSamplePoint>,
function{pigment{Pigment_img}})
#declare j=j+1;
#end
)/Xsamp;
color rgb Color_vector
]
#declare i=i+1;
#end
}
Abe
Post a reply to this message
|
 |
|  |
|  |
|
 |
|
 |
|  |


![]()