|
 |
Alain Martel <kua### [at] videotron ca> wrote:
> > "Mike Miller" <mil### [at] gmailcom> wrote:
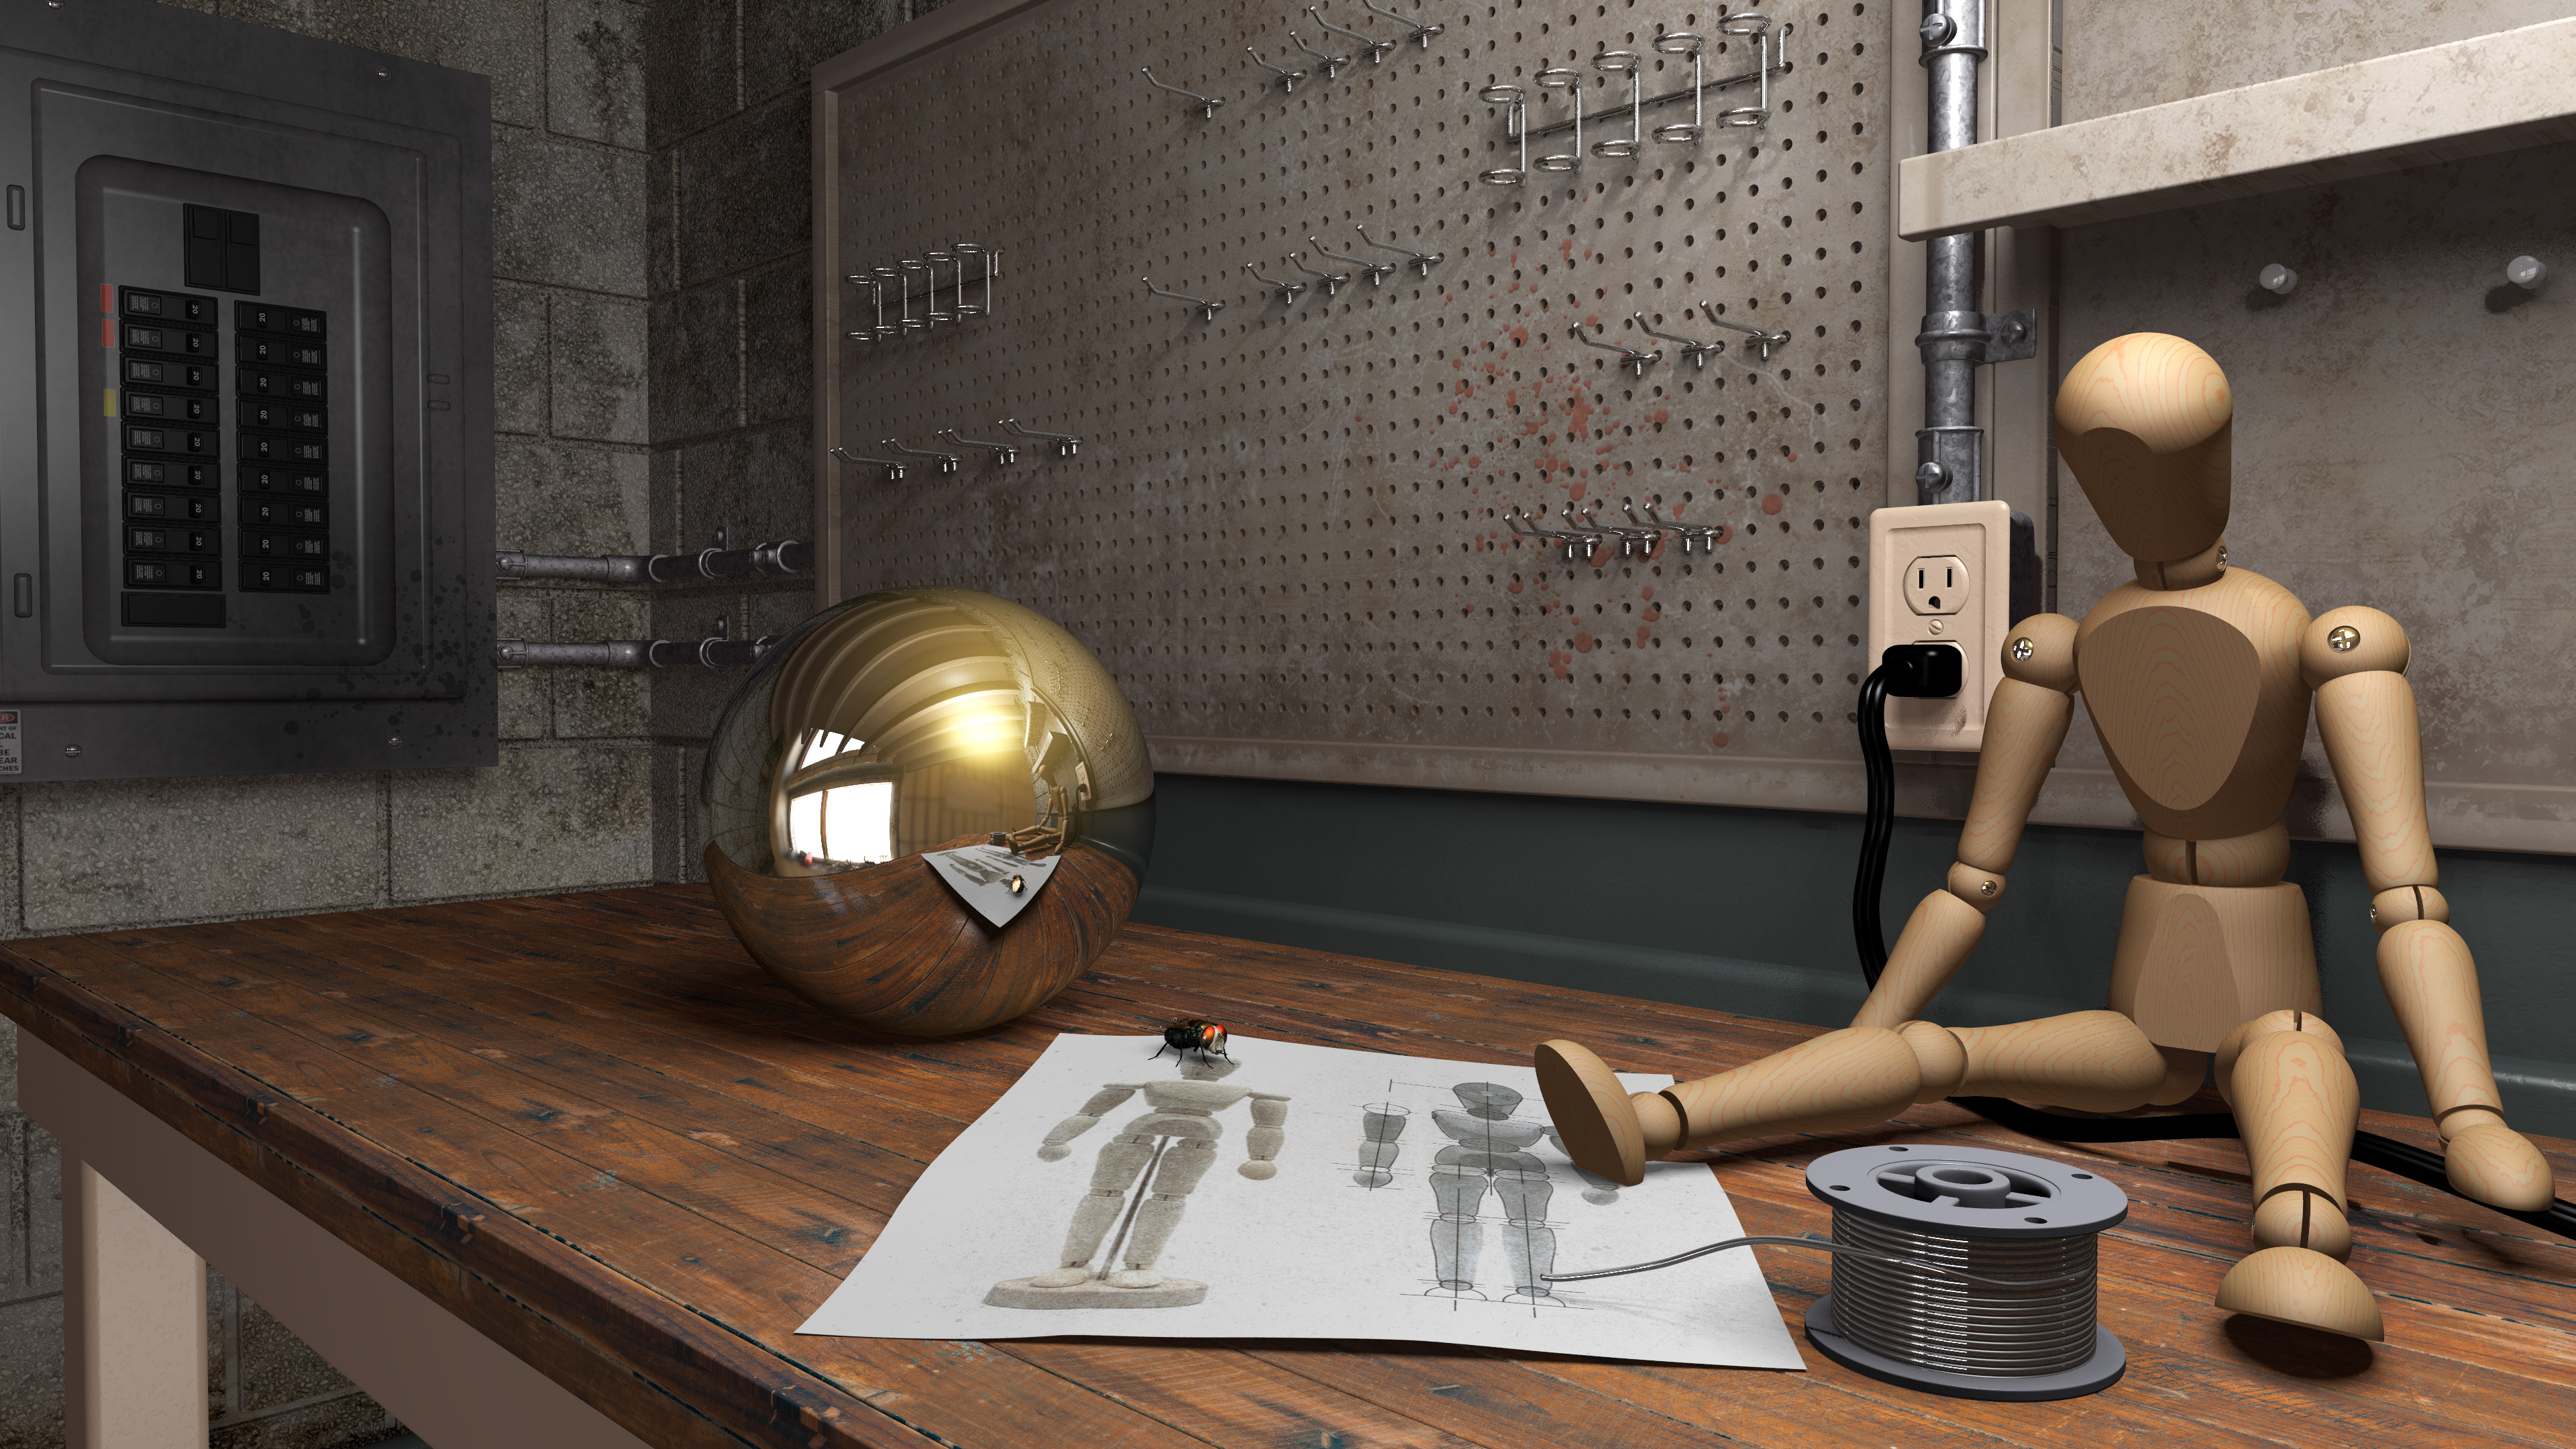
> >> Progress of workbench and wall detail for updated Jack rendering. Added breaker
> >> panel and pegboard. Better material on bench top.
> >> Mike.
> >
> >
> > OK, that's getting ridiculous.
> >
> > Ridiculously GOOD. :O
> >
> > That bench top is not "better" - it's amazing, as are the box, soldering gun,
> > and circuit board, and... and well, everything.
> >
> > What else is there to do but comb over the image and "nit pick" - in a
> > constructive way?
> >
> > The electrical panel has an odd speckly normal to it, that I think ought to be
> > smoother/glossier.
> > The cinder blocks are too flat, finely textured, and regularly placed, as is the
> > mortar. (I know, it's probably just a placeholder wall...)
> > The pegboard, etc all look great, the only thing you might consider doing is
> > adding a few paint drips in the finish, and some wear marks arouns the peg
> > holes, and the electrical outlet sockets / screw.
> > The galvanized conduit is far too smooth and glossy - maybe use a normal map,
> > and fine granite normal to give it a more powdery finish. A more pronounced
> > visual texture disjoint between the conduit and box adapter would also sell it
> > that wee bit more. Also, don't those types of fixtures have a set-screw
> > connection?
> > Also some wear marks on the green paint and yellow paint on the front of the
> > workbench.
> >
> >
> > Aside from that, all I can think of is placing all the random bits of work
> > detritus in the workspace - loose strands of copper wire, bits of trimmed
> > insulation, tape, zip ties, solder drips, screws, flux, pliers, pencil, ziplock
> > parts bags, delivery/parts boxes, utility knife ---- depends on how busy/sparse
> > you want the final look. But you do have a few out of the way places to put
> > tiny things - the shelf, on top of the outlet - on top of the electrical panel,
> > and 4' x 2' of pegboard.
> >
> >
> > This really is damned near photographic. It's nice to have you here/back after
> > 30 years to show off your skills.
> >
> > Thanks for sharing your scenes and diagrams. Perhaps here and there you can add
> > some notes to a how-to document and give those of us who don't do anything even
> > approaching this level of mastery a view intot he start-to-finish workflow, and
> > the tools and software packages and image-map resources that you use to bring
> > everything together into this kind of incredibly realistic scene.
> >
> > Heck, you could probably even do a video series!
> >
> > - BW
> >
> >
> >
> >
> >
> I've seen some cinder blocks that where about as regular as this one.
> We can assume that the pegboard just received a new coat of paint. Maybe
> it's first one.
Attached is a progress rendering with more destressed surfaces. I increased the
cmu mortar depth and deepened the texture and grunge. About to add dents and
dirt maps to the remaining trim and table legs. Still tweaking the conduit pipe
material. Need to tweak a few bitmap stretch marks on the cinder blocks.
Miller ca> wrote:
> > "Mike Miller" <mil### [at] gmailcom> wrote:
> >> Progress of workbench and wall detail for updated Jack rendering. Added breaker
> >> panel and pegboard. Better material on bench top.
> >> Mike.
> >
> >
> > OK, that's getting ridiculous.
> >
> > Ridiculously GOOD. :O
> >
> > That bench top is not "better" - it's amazing, as are the box, soldering gun,
> > and circuit board, and... and well, everything.
> >
> > What else is there to do but comb over the image and "nit pick" - in a
> > constructive way?
> >
> > The electrical panel has an odd speckly normal to it, that I think ought to be
> > smoother/glossier.
> > The cinder blocks are too flat, finely textured, and regularly placed, as is the
> > mortar. (I know, it's probably just a placeholder wall...)
> > The pegboard, etc all look great, the only thing you might consider doing is
> > adding a few paint drips in the finish, and some wear marks arouns the peg
> > holes, and the electrical outlet sockets / screw.
> > The galvanized conduit is far too smooth and glossy - maybe use a normal map,
> > and fine granite normal to give it a more powdery finish. A more pronounced
> > visual texture disjoint between the conduit and box adapter would also sell it
> > that wee bit more. Also, don't those types of fixtures have a set-screw
> > connection?
> > Also some wear marks on the green paint and yellow paint on the front of the
> > workbench.
> >
> >
> > Aside from that, all I can think of is placing all the random bits of work
> > detritus in the workspace - loose strands of copper wire, bits of trimmed
> > insulation, tape, zip ties, solder drips, screws, flux, pliers, pencil, ziplock
> > parts bags, delivery/parts boxes, utility knife ---- depends on how busy/sparse
> > you want the final look. But you do have a few out of the way places to put
> > tiny things - the shelf, on top of the outlet - on top of the electrical panel,
> > and 4' x 2' of pegboard.
> >
> >
> > This really is damned near photographic. It's nice to have you here/back after
> > 30 years to show off your skills.
> >
> > Thanks for sharing your scenes and diagrams. Perhaps here and there you can add
> > some notes to a how-to document and give those of us who don't do anything even
> > approaching this level of mastery a view intot he start-to-finish workflow, and
> > the tools and software packages and image-map resources that you use to bring
> > everything together into this kind of incredibly realistic scene.
> >
> > Heck, you could probably even do a video series!
> >
> > - BW
> >
> >
> >
> >
> >
> I've seen some cinder blocks that where about as regular as this one.
> We can assume that the pegboard just received a new coat of paint. Maybe
> it's first one.
Attached is a progress rendering with more destressed surfaces. I increased the
cmu mortar depth and deepened the texture and grunge. About to add dents and
dirt maps to the remaining trim and table legs. Still tweaking the conduit pipe
material. Need to tweak a few bitmap stretch marks on the cinder blocks.
Miller
Post a reply to this message
Attachments:
Download 'workbench9.jpg' (2258 KB)
Preview of image 'workbench9.jpg'

|
|